Now with the increase in wireless systems, one of the more reliable options for securing your home and garden is solar-powered security cameras. They have risen in popularity and there are many reasons for this.
The Benefits
Some of the benefits that solar-powered security cameras can provide are as follows:
- No need for running long cables
- Decreasing the environmental impact
- Installation can occur in remote or geographically challenged locations
- Independence from the power grid
Your Tool Kit
Now the first thing that you must think about is what materials will be needed in order to ensure a successful installation. You must have:
1. A Security Camera
2. A Battery
3. A Battery Enclosure
4. A Solar Panel
5. A Cable
6. A DC Jack
7. Crimp Connectors
8. Solar Charge Controllers
The Specifics
One thing you will need to work out before starting anything is the requirements and selection for the features needed for your security camera to run so that any of these features can be implemented successfully and efficiently.
Power Requirements
From the specs of your camera, you will need to note down two things. First is the power rating in Watts. Then you need to know the voltage rating – either 12V or 24V. In order to calculate the battery and solar panel size, you will need the power rating. Likewise, designing the battery bank means you will need to know the voltage rating. For example, if your camera operates on 12 VDC, you would then require a 12V battery.
Step By Step Guide
Now there are two ways in which you can approach solar powering your home security camera. You can buy a ready made solar-powered security camera system or you can add a solar power system to an existing security camera. We will cover the second way within this article.
1. Select The Battery
There are two options when it comes to the battery:
- Deep Cycle Lead Acid Battery
The pros is that they are less expensive and have a lifespan of 2-5 years. As well as this, they offer good performance for solar energy storage. However, they do not charge as fast and are deemed to be less lightweight.
- Li-Ion Battery
The pros for this battery is that they have a long lifespan of around 5-9 years. They also charge very fast and are considered lightweight compared to their storage capacity. The cons however is that they are much more expensive compared to Deep Cycle.
Once you have chosen the selected battery, you must make sure that the solar batteries are capable of recharging fast and can store enough power in order to continuously monitor and record from the camera.
To find out more detailed calculations on how to measure the right amount of power rating with the watt-hour, please click here.
As well as this, you will need to consider how the battery can be protected. This will need to be via a weatherproof container, also known as a “NEMA box”.
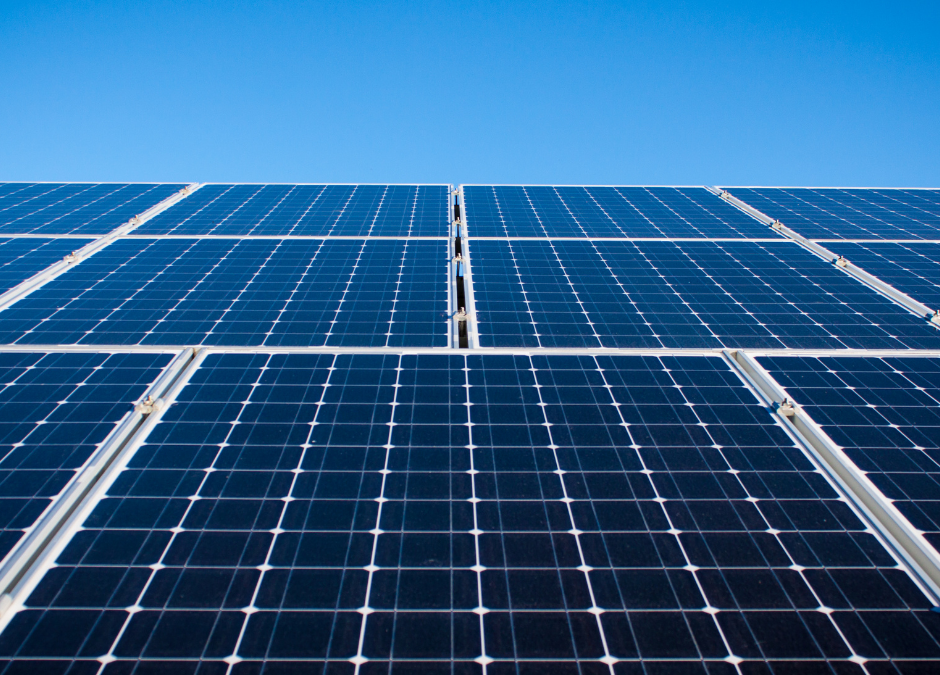
2. Select the Solar Panel
Now the first thing you must do after sizing the battery is identifying the average peak sun hours that your area receives in order to size your solar panel. To find out this information, you can head over to Global Solar Atlas.
3. Select the Charge Controller
This is important as this shows that your battery is not over charged. You must know the maximum output current of the solar panel and battery voltage. You will want to select a charge controller that’s voltage rating is the same as the battery voltage.
4. Select the Solar Cable
Now when selecting the solar cable, copper is most preferable in this particular application however aluminium works just as well. Allow the distance between the solar panel and the battery to be around 10 feet to ensure quality.
5. Prepare the Power Cord
We now need to provide power from the battery via the charge controller. So to do this we will need an added DC mail jack for connection without cutting the original cable extension.
6. Install the Solar Panel
In order to get the maximum power, you will need to make sure that the panels are facing in the direction that captures the most sunlight. Facing them towards the equator is deemed the most reliable way.
7. Wire
In this final step, there are three connections that need to occur and we will go through them all one by one.
First of all, you need to connect the battery to the solar charge controller. You will need to use an appropriate cross-section cable to connect the battery to the battery terminals of the solar charge controller. Remember that the positive ends are connected together and the same for the negative battery terminals. You can either hard wire the cables, use ring terminals or for a temporary solution use crocodile clips.
Now you must connect your solar panel to your solar charge controller. You will need to connect the positive and negative solar panel cables to the solar panel terminals on your solar charge controller. If there is some exposure to light from the solar panel, then the solar charge controller will immediately show a “battery charging” signal.
The final step you must take is to connect your security camera to your battery terminals. Connecting your security camera to the solar charge controllers via the Load terminals will ensure success of your new and improved solar-powered security camera.
Remember…
When considering a camera to purchase in order to ensure that your home and garden is safe and secure, it is very important to consider your location and what will benefit you. There are many alternatives to home security cameras and it is deciding what will give you reliability and safety.
We would love to hear from you!
Did this help you? Would you like to know more about surveillance cameras and the growing security industry? We love to hear feedback from our readers. Make sure to contact us through the link down below: